Creating your own clothes is a great way for you to express yourself and make your style seen. Roblox has the excellent feature of being able to create your own clothes and import them into the game for you and other players to enjoy. But how do you create your own clothes?
Luckily for you, we have a step-by-step process that will show you exactly how to make clothes on Roblox mobile! While it takes a bit of time, none of the steps provided are too hard to do, and anyone can do it. The important thing is to be creative and make clothes that stand out.
If you find this article helpful or informative, you should also check out our other code articles like Warframe promo codes, World of Tanks codes, and World of Warships codes.
How to make clothes on Roblox mobile
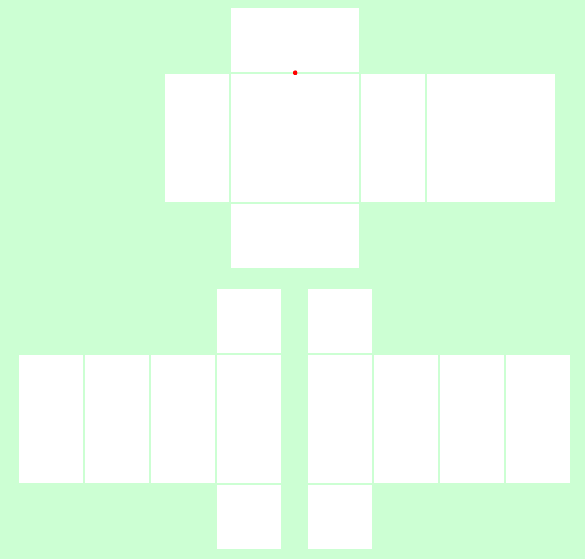
First off, you need to get some image editing software. We’ll be using Ibis for this purpose. As soon as you enter Ibis, you’re going to want to use a template for the clothes you want to create. It is provided here.
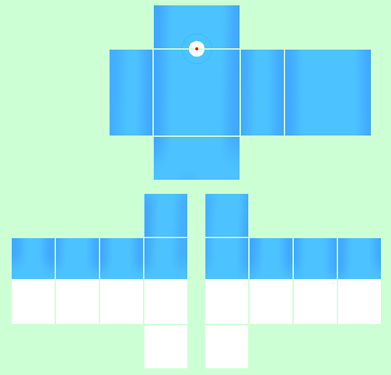
To add more detail and definition to the shirt, we’re going to be adding a neck hole, where your head usually goes through on a shirt. To do so, follow these steps:
- Create a new layer and put it under the template
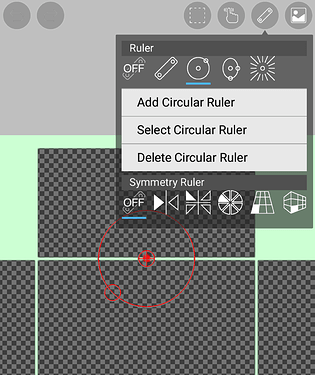
- Select a brush and choose the hard felt tip at a 1.3px size
- Select the circle ruler and place it on the middle of the base of the neck, where the red dot is
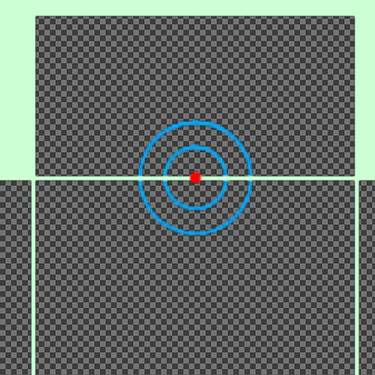
4. From here we want to create two circles at the base of the neck, one within the other.
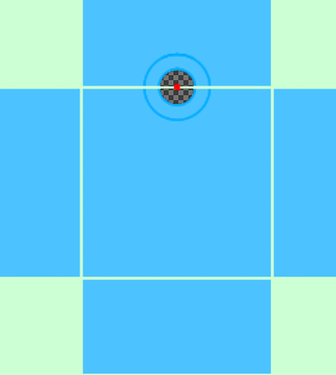
5. Assuming you have chosen a color for your shirt, you now have to create another layer under the neck hole one we have just made. Select a brighter color than the one you selected and fill every space except for the neck hole with that color.
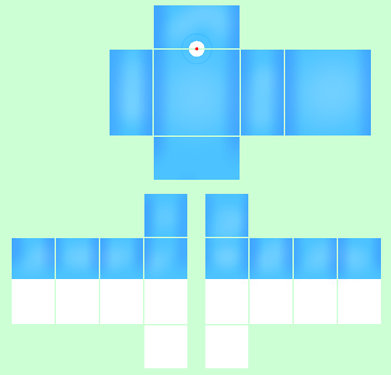
6. The steps so far have been great for clothing articles with a solid color, but you can also add any image or texture that you want. It doesn’t have to be a single color. We’re going to be moving on to shading.

Add another layer to the image, taking care that this one is above you neck hole layer. To effectively layer something, we’re going to use the airbrush feature in a trapezoid shape set at 20%. When it comes to color, you’re going to want to use a color that is very dark, but not black. If you’re using blue, use a very dark shade of blue. If it’s red, go for dark red, etc. The template has guidelines that you can use for the shading.
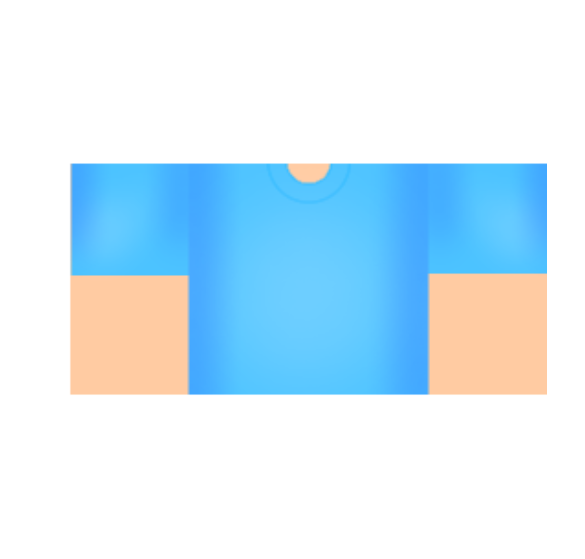
Once you’re done, you should have something like this. You can keep it like this or you can do some highlighting as well. For highlights, create a new layer that is under your shading layer, and select white as your primary color. Using the same method as for the previous shading, add some brighter lines near the middle of your piece. Highlights make the clothes appear brighter, and more visually pleasing.
After you’re done with that, you can go ahead and delete the template layer of the entire thing and you should have a pretty decent shirt! This process is a bit lengthy but with some practice, you’re sure to get used to it.
Following these steps is just a guideline you can use to create your own clothes, as the style and theme is purely subjective, so play around and see what suits you. That would be all we have to say about creating clothes on Roblox, so if you’re still interested in more content, check out Roblox statistics and facts for some information!